Module Aim
Teachers learn how to open and manage files, and create and manage folders on an iPad.
Step 1 – Create a Document
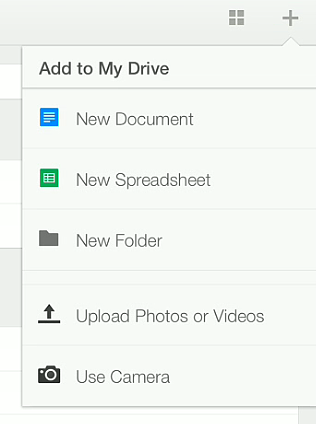
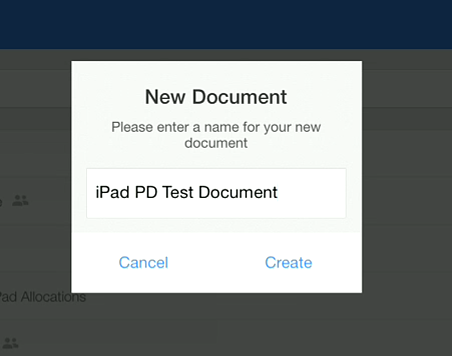
Open up Drive on your iPad and create a new document. Click on the ‘+’ in the top right hand corner of the screen and select ‘New Document’. Name your document ‘iPad PD Test Document’.
Step 2 – Create A Folder
Click on the ‘+‘ symbol in the top right hand corner of your Drive app and select ‘New Folder‘. Name this Folder ‘iPad PD Program‘.
Step 3 – Put Document in a Folder
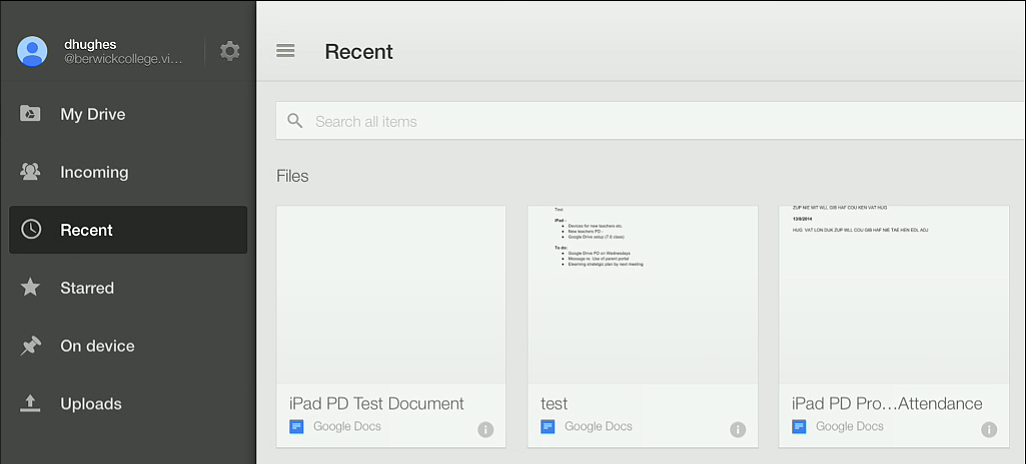
Go back to your Drive home page,touch the three horizontal lines and select ‘Recent‘. Click on the ‘i‘ for ‘information’.
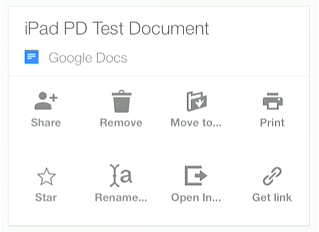
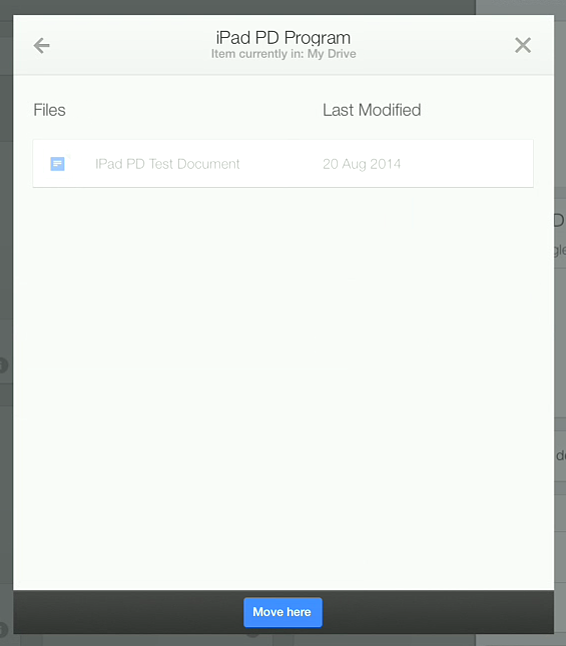
A screen will appear with a range of options for the iPad PD Test Document. Touch ‘Move to…‘ and then select the folder ‘iPad PD Program‘ folder and then click ‘Move here…‘.
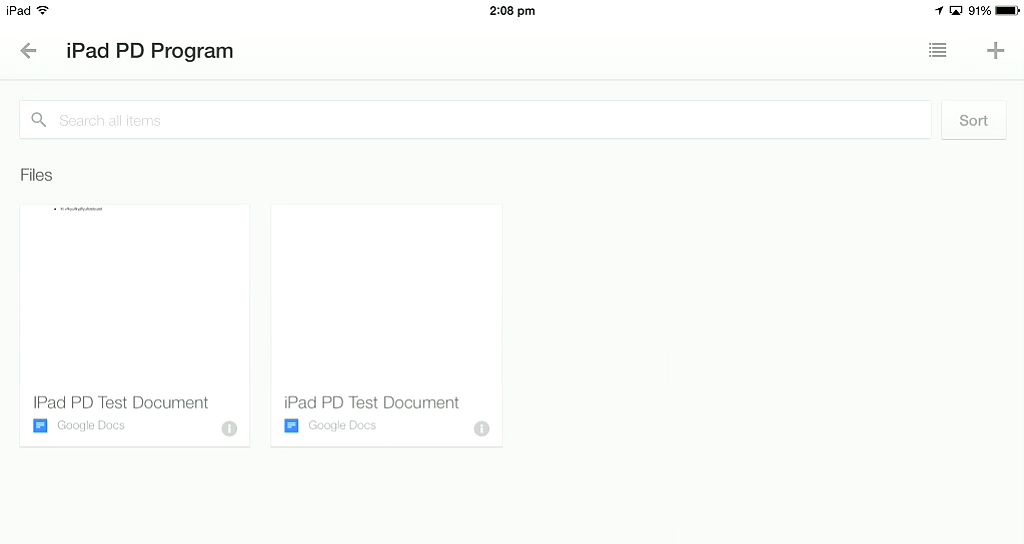
Step 4 – Demonstrate Competency
After pressing ‘Move here…’ the next screen will show your ‘iPad PD Test Document‘ inside the ‘iPad PD Program‘ folder. Take this screenshot and submit it to Edmodo.